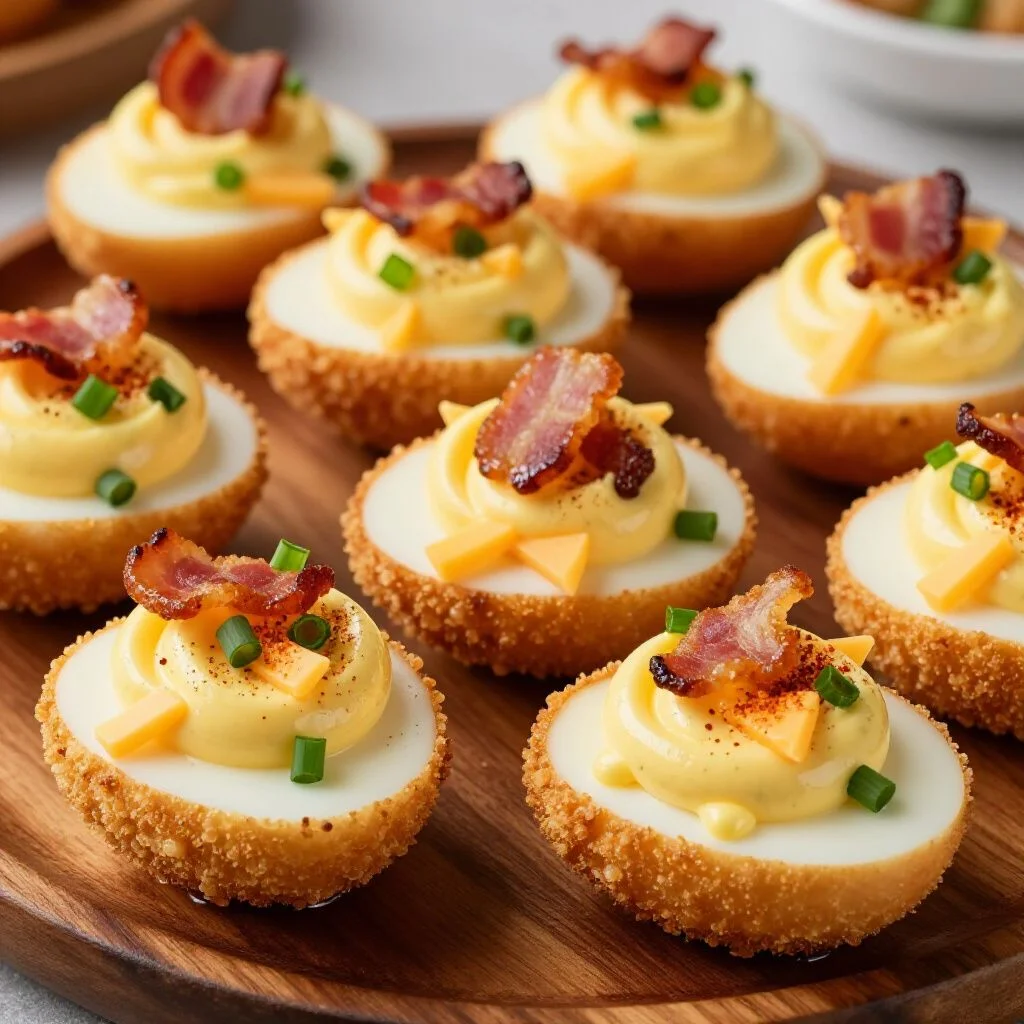
This **Fully Loaded Fried Deviled Eggs** recipe delivers the ultimate crunchy snack that will never fail to impress your dinner guests.
If you thought the classic deviled egg was the pinnacle of party appetizers, think again. The culinary world has taken a giant leap forward by introducing the concept of deep-frying the egg white. This twist creates a textural masterpiece: a crispy, golden-brown exterior surrounding a cool, creamy, and savory center. These Fried Deviled Eggs are not just a snack; they are a conversation starter and a gourmet experience that elevates humble ingredients into something truly spectacular.
[ez-toc]
Deviled eggs have been a staple of social gatherings since Ancient Rome, where they were often served as a first course. However, the modern “loaded” version—topped with bacon, jalapeños, and chives—is a distinctly Southern-inspired evolution. By adding the dredging and frying process, we introduce a crunch that contrasts perfectly with the traditional whipped yolk filling. Whether you are hosting a game day party or a holiday brunch, this recipe is guaranteed to be the first plate emptied.
In this guide, we will explore the nuances of creating the perfect Fried Deviled Eggs, from achieving the ideal hard-boil to the secret of a panko crust that stays crispy for hours. We will also look at variations that cater to different dietary needs and flavor preferences, ensuring that you can master this dish regardless of your skill level in the kitchen.
Why This Recipe Works
The success of Fried Deviled Eggs lies in the science of contrast. Most appetizers offer either crunch or creaminess, but this dish provides both in every single bite. The panko breadcrumbs create a jagged, high-surface-area crust that traps salt and flavor, while the filling remains velvety and rich.
Furthermore, this recipe is incredibly versatile. It uses pantry staples like flour, eggs, and mayonnaise but allows for high-end garnishes like smoked paprika or microgreens. It is also an excellent way to use up leftover hard-boiled eggs from Easter or other celebrations. The “fully loaded” aspect—incorporating bacon and hot sauce—taps into the “umami” profile that people crave in bar-style appetizers, making it more satisfying than a standard deviled egg.
Ingredients for Fried Deviled Eggs
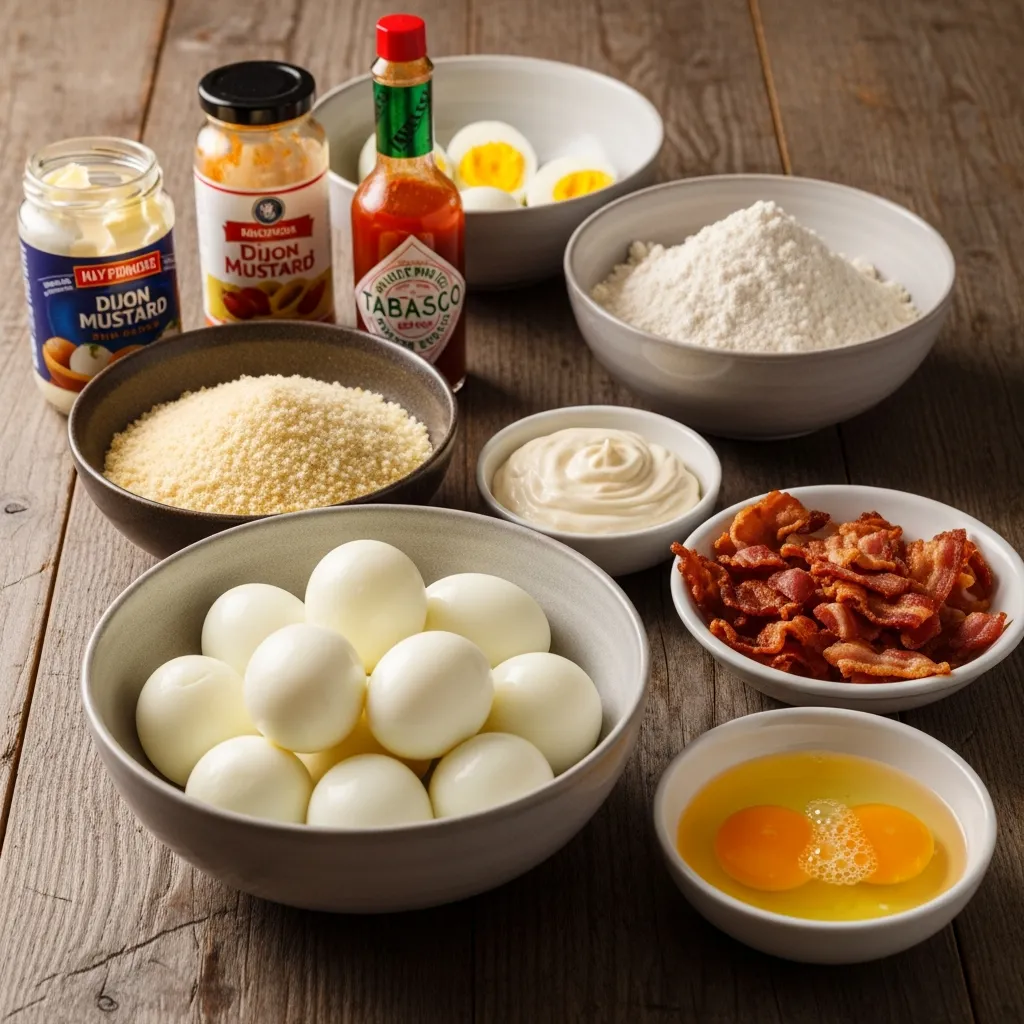
To make the best version of this dish, quality matters. Ensure your eggs are fresh, and your oil is clean for the best flavor profile.
- 12 Large Eggs: Fresh eggs are great, but slightly older eggs actually peel more easily after boiling.
- 1 cup All-Purpose Flour: For the initial coating to help the binder stick.
- 2 cups Panko Breadcrumbs: These provide a much better crunch than standard breadcrumbs.
- 2 Large Eggs (beaten): Used as the “glue” for the breading.
- 1/2 cup Mayonnaise: Use a high-quality brand for the creamiest filling.
- 1 tablespoon Dijon Mustard: Adds a necessary tang and acidity.
- 1 teaspoon Hot Sauce: For a subtle kick that cuts through the richness.
- 4 strips Bacon: Cooked until extra crispy and finely crumbled.
- 1 Fresh Jalapeño: Thinly sliced for a pop of color and heat.
- Fresh Chives: Finely chopped for a mild onion finish.
- Vegetable Oil: For frying (about 2-3 inches in a deep pan).
- Seasonings: Smoked paprika, salt, and freshly cracked black pepper.
Equipment Needed
You don’t need a professional kitchen to make Fried Deviled Eggs, but a few specific tools will make the process much smoother:
- A Large Saucepan: For boiling the eggs.
- Three Shallow Bowls: For your dredging station (flour, egg wash, panko).
- A Heavy-Bottomed Pot or Deep Fryer: To maintain consistent oil temperature.
- A Slotted Spoon or Spider Strainer: To safely remove the eggs from the hot oil.
- A Piping Bag: With a star tip for a professional-looking filling.
- Paper Towels: For draining excess oil.
Step by Step Guide to Perfect Fried Deviled Eggs
- Boil and Peel: Place 12 eggs in a single layer in a saucepan. Cover with water and bring to a boil. Once boiling, cover and remove from heat for 12 minutes. Immediately transfer to an ice bath. Once cool, peel carefully.
- Prep the Whites: Slice the eggs in half lengthwise. Gently remove the yolks and place them in a mixing bowl. Set the whites aside on a paper towel to ensure they are completely dry.
- The Dredging Station: Set up three bowls. One with flour, one with the two beaten eggs, and one with panko breadcrumbs. Season the panko with a little salt and paprika.
- Bread the Eggs: Roll each egg white half in the flour, then dip into the egg wash, and finally press into the panko until fully coated. Press firmly so the crumbs stick to the “cup” of the egg.
- Fry Until Golden: Heat oil to 350°F (175°C). Fry the breaded egg whites in batches for 2-3 minutes or until they reach a beautiful golden brown. Remove and drain on paper towels.
- Make the Filling: Mash the reserved yolks with mayonnaise, Dijon mustard, hot sauce, salt, and pepper until completely smooth. For an even better texture, pass the yolks through a fine-mesh sieve first.
- Load Them Up: Pipe the yolk mixture back into the fried egg white shells. Top each with bacon crumbles, a slice of jalapeño, and a sprinkle of chives. Serve immediately while the base is still warm.
To Incorporate With
These Fried Deviled Eggs are a heavy-hitter appetizer. They pair beautifully with other finger foods for a complete party spread. If you are looking for something to balance the richness, consider serving them alongside a light salad or as a side to a comforting bowl of crack chicken soup. The creaminess of the soup complements the crunch of the egg whites perfectly.
For a holiday-themed platter, you might also include turkey stuffing balls. The combination of savory stuffing and fried eggs creates a “comfort food” plate that guests won’t be able to resist. You can also find more inspiration on Pinterest for creative plating ideas.
Varieties / Substitutions
The beauty of the Fried Deviled Eggs recipe is how easily it can be adapted to different diets and tastes:
- Keto Version: Replace the flour and panko with crushed pork rinds (chicharrones) and use an air fryer instead of deep frying.
- Vegetarian: Simply omit the bacon. You can add a drop of liquid smoke to the yolk mixture to retain that smoky flavor profile.
- The “Everything” Egg: Coat the fried whites in “Everything Bagel” seasoning after frying for a salty, seedy crunch.
- Buffalo Style: Mix buffalo sauce into the yolks and top with blue cheese crumbles instead of bacon.
- Seafood Twist: Top with a small piece of smoked salmon or a tiny blackened shrimp for a high-end “Surf and Turf” appetizer.
Tips for Success
To ensure your Fried Deviled Eggs come out perfect every time, keep these expert tips in mind:
- Dry the Whites: If the egg whites are even slightly damp, the flour won’t stick, and the breading will slide off in the fryer. Pat them thoroughly with paper towels.
- Check Oil Temp: If the oil is too cold, the eggs will be greasy. If it’s too hot, the panko will burn before the egg is heated through. Use a kitchen thermometer!
- Don’t Overstuff: It’s tempting to pile the yolk filling high, but a moderate amount ensures the egg remains easy to eat in one or two bites.
- Make Ahead: You can boil and peel the eggs a day in advance. However, do not fry them until you are ready to serve, as the breading will lose its crunch in the fridge.
10 FAQ About Fried Deviled Eggs
1. Can I use an air fryer for Fried Deviled Eggs?
Yes! Spray the breaded egg whites generously with oil and air fry at 400°F for 5-7 minutes until golden. It’s a healthier alternative that still provides a great crunch.
2. Why is my breading falling off?
This usually happens if the egg whites weren’t dried properly or if you skipped the flour step. The flour creates a dry surface for the egg wash to cling to.
3. How long do these stay crispy?
They are best served within 30-60 minutes. After that, the moisture from the egg and the filling will begin to soften the panko crust.
4. Can I freeze them?
No, eggs do not freeze well once cooked; the texture becomes rubbery and unappealing upon thawing.
5. What is the best oil for frying?
Vegetable, canola, or peanut oil are best due to their high smoke points and neutral flavors.
6. How do I get a perfectly smooth filling?
The secret is using a food processor or pushing the yolks through a fine-mesh sieve before mixing with the mayo and mustard.
7. Are Fried Deviled Eggs served hot or cold?
They are best served “room temp-warm.” The white is warm and crispy, while the filling is cool or room temperature. It’s a unique temperature contrast!
8. Can I use Greek yogurt instead of mayo?
Yes, you can substitute half or all of the mayo with Greek yogurt for a tangier, higher-protein filling.
9. What if I don’t have a piping bag?
Simply use a Ziploc bag and snip off one of the corners. It won’t have the star shape, but it will be much cleaner than using a spoon.
10. Where can I find more variations?
You can search for similar recipes on AllRecipes to see how others spice their yolk mixtures.
Conclusion
The Fried Deviled Eggs experience is one that every home cook should try at least once. It takes a classic, beloved dish and reinvents it with a modern, indulgent twist. By following these steps—ensuring a dry egg white, maintaining proper oil temperature, and loading it with high-quality toppings—you will create an appetizer that is truly “ultimate.”
Don’t be afraid to experiment with the toppings. Whether you prefer the heat of a jalapeño or the saltiness of bacon, this recipe provides the perfect canvas for your culinary creativity. For more appetizer ideas, search for similar recipes on Food.com. Happy frying!
PrintFully Loaded Fried Deviled Eggs: 7 Steps to the Perfect Appetizer
- Total Time: 30 minutes
- Yield: 12 1x
Description
A crunchy, creamy, and sophisticated twist on the classic appetizer that features crispy fried egg whites topped with a savory yolk filling.
Ingredients
- 12 large eggs
- 1/2 cup mayonnaise
- 1 tbsp Dijon mustard
- 1 cup Panko
- 1/2 cup flour
- 2 eggs (beaten)
- 6 strips bacon
- Fresh chives
Instructions
- Boil eggs
- Prepare breading station
- Coat egg whites
- Fry until golden
- Mix yolk filling
- Pipe filling
- Garnish
Notes
High protein, gluten-free adaptable, excellent texture contrast
- Prep Time: 20 minutes
- Cook Time: 10 minutes
Nutrition
- Calories: 180 kcal