[ez-toc]
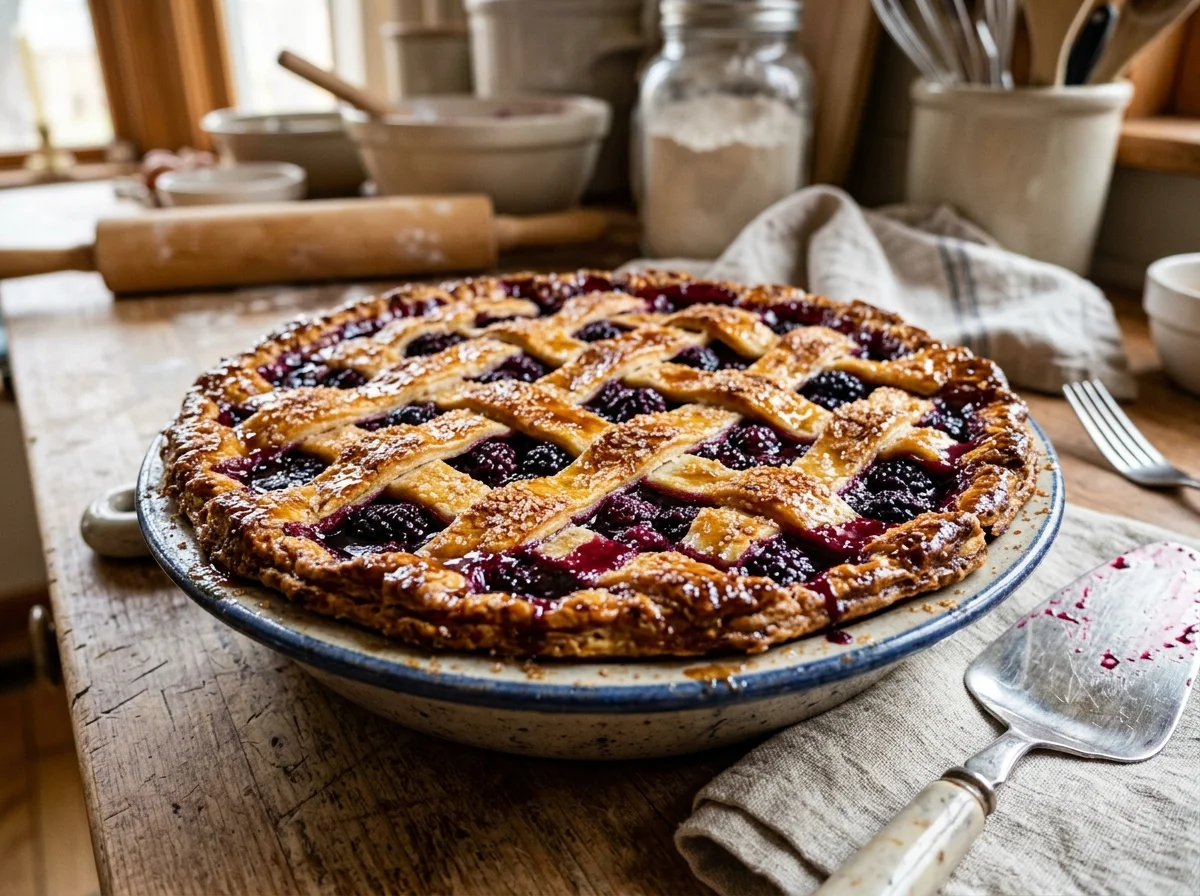
Learn how to make the best Easy Mulberry Pie with this simple guide featuring fresh berries and a golden crust.
If you have ever spent a summer afternoon with purple-stained fingers, you know the magic of the mulberry tree. These prolific berries are often overlooked in the grocery store because they are too delicate to ship, but for the home gardener or the wild forager, they are a seasonal treasure. This Easy Mulberry Pie recipe transforms those humble berries into a sophisticated, sweet-tart dessert that rivals any classic blackberry or blueberry pie.
The beauty of a Mulberry-focused dessert is its unique flavor profile. Mulberries possess a mild, honey-like sweetness paired with a subtle earthy undertone that becomes incredibly vibrant when baked. Because they are so juicy, getting the thickening agent just right is the key to avoiding a “soupy” mess. In this guide, we will walk through every detail to ensure your Easy Mulberry Pie comes out with a perfectly set filling and a flaky, buttery crust every single time.
Why This Recipe Works
The secret to this Easy Mulberry Pie lies in the balance of acidity and sweetness. Mulberries, unlike raspberries, can sometimes lack the punchy acidity needed to stand up to a heavy crust. By adding a splash of fresh lemon juice and a hint of zest, we brighten the fruit’s natural sugars.
Another reason this recipe is a winner is its versatility. Whether you have harvested the large, dark Black Mulberries (Morus nigra) or the sweeter Red Mulberries (Morus rubra), the ratios in this recipe remain consistent. We also utilize a simple cornstarch slurry within the berry mix, which ensures the Mulberry juices thicken into a luscious jam-like consistency during the baking process.
For more fruit-inspired desserts, you might also enjoy our raspberry cheesecake, which offers a similar tart-and-sweet balance.
Ingredients
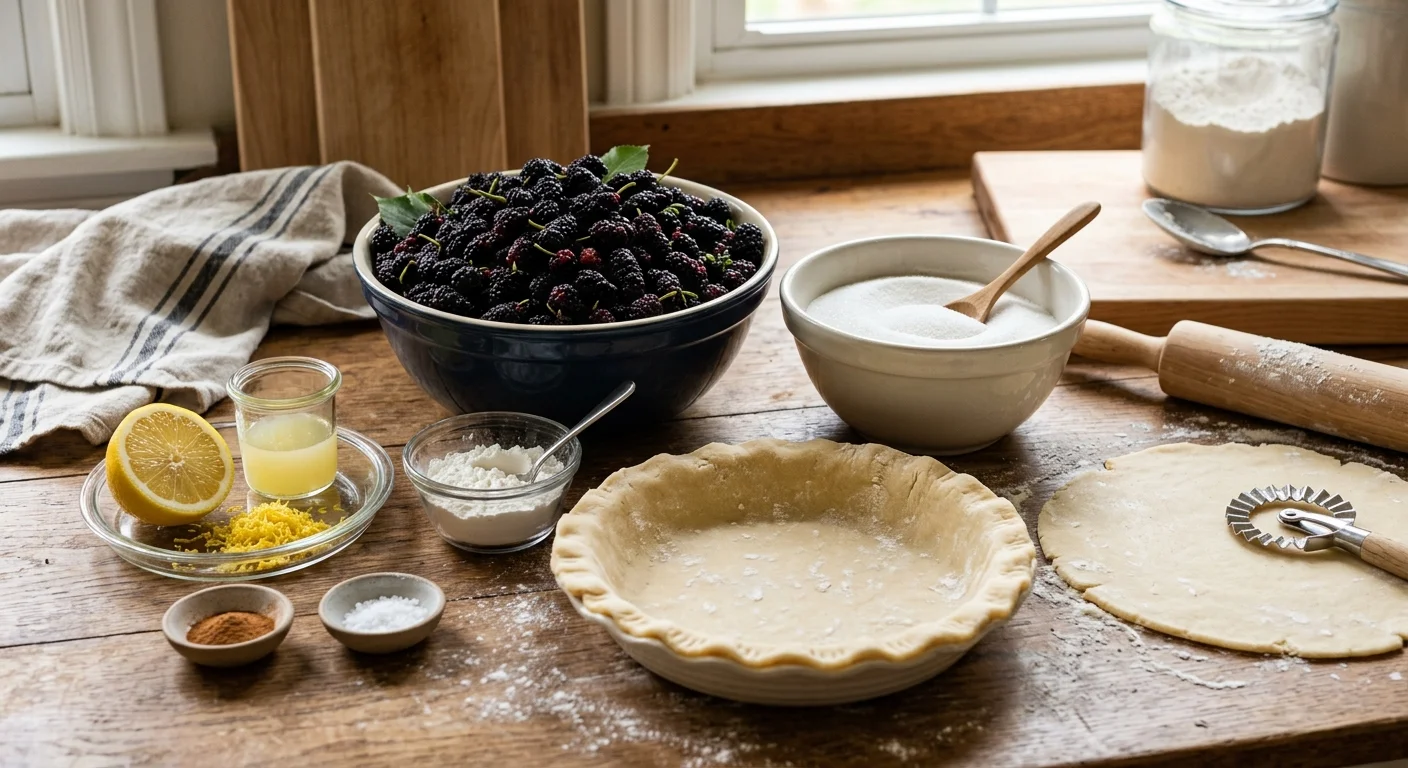
To create the perfect Easy Mulberry Pie, you will need the following high-quality ingredients. Using fresh, seasonal berries will always yield the best results, but frozen berries work in a pinch.
- 4 cups Fresh Mulberries: Rinsed and patted dry. You can leave the tiny green stems on if they don’t bother you, as they soften during baking, but most prefer them removed.
- 1 cup Granulated Sugar: Adjust based on the sweetness of your specific berries.
- 1/4 cup Cornstarch: This is the essential thickening agent for a Mulberry filling.
- 1 tablespoon Lemon Juice: To provide necessary acidity.
- 1 teaspoon Lemon Zest: For an aromatic floral note.
- 1/2 teaspoon Ground Cinnamon: Enhances the earthy notes of the fruit.
- 1/4 teaspoon Salt: To balance the sweetness.
- Double Pie Crust: You can use store-bought refrigerated dough or your favorite homemade lard or butter crust recipe.
- 1 tablespoon Butter: To dot the top of the filling before sealing.
- 1 Egg (for egg wash): Beaten with a splash of water for that golden sheen.
- Coarse Sanding Sugar: For a crunchy, professional finish on the crust.
Equipment
Having the right tools makes the process of baking an Easy Mulberry Pie much smoother.
- 9-inch deep-dish pie plate.
- Large mixing bowl.
- Rolling pin.
- Pastry brush.
- Aluminum foil or a pie shield (to prevent over-browning).
- Wire cooling rack.
Step by Step Guide
Follow these steps carefully to master the Easy Mulberry Pie.
1. Prepare the Berries
First, gently wash your mulberries in cold water. Mulberries are delicate, so don’t scrub them. If you choose to remove the stems, use a small pair of scissors or your fingernails. Pat them dry thoroughly; excess water will make the Mulberry filling too thin.
2. Mix the Filling
In a large bowl, toss the berries with the sugar, cornstarch, lemon juice, lemon zest, cinnamon, and salt. Let the mixture sit for about 15 minutes. This allows the sugar to draw out the juices and the cornstarch to begin its work. You can find more inspiration for fruit fillings by looking at this Search for similar recipes on Pinterest.
3. Prepare the Crust
Roll out the bottom half of your pie dough on a lightly floured surface. Fit it into your 9-inch pie plate, leaving a slight overhang. Avoid stretching the dough, as this causes it to shrink during baking.
4. Fill and Dot
Pour the Mulberry mixture into the prepared bottom crust. Cut the tablespoon of butter into small pieces and “dot” them across the top of the fruit. This adds a rich silkiness to the sauce as it bakes.
5. Add the Top Crust
You can choose a full top crust with slits for steam or a beautiful lattice design. If using a full crust, drape it over the filling, trim the excess, and pinch the edges to seal. Brush the top with your egg wash and sprinkle generously with sanding sugar.
6. Bake to Perfection
Place the pie on a baking sheet to catch any drips. Bake at 400°F (200°C) for the first 15 minutes, then reduce the heat to 375°F (190°C) and bake for another 35-45 minutes. The Easy Mulberry Pie is done when the crust is deep golden brown and the filling is bubbling through the vents.
7. The Cooling Phase
This is the hardest part: let the pie cool completely on a wire rack for at least 3-4 hours. If you cut into a hot Mulberry pie, the filling will run out. Cooling allows the starches to set firmly.
To Incorporate With
An Easy Mulberry Pie is magnificent on its own, but you can elevate it with these pairings:
- Vanilla Bean Ice Cream: The cold creaminess melts into the warm berry juices.
- Homemade Whipped Cream: Lightly sweetened with a touch of vanilla.
- Sharp Cheddar Cheese: A classic New England pairing that complements the fruit’s earthiness.
- A Morning Treat: Leftover pie is excellent alongside Christmas pancakes for a festive brunch vibe.
Varieties / Substitutions
If you want to put a twist on your Easy Mulberry Pie, consider these variations:
- Mulberry-Rhubarb: Replace 1 cup of berries with chopped rhubarb for extra tartness.
- Mulberry-Apple: Mix in one thinly sliced Granny Smith apple to add texture.
- Vegan Option: Use a coconut oil-based crust and swap the egg wash for a splash of almond milk.
- Frozen Berries: If using frozen mulberries, do not thaw them first. Increase the cornstarch by 1 tablespoon to account for the extra moisture.
Tips for Success
To ensure your Easy Mulberry Pie is the talk of the neighborhood, keep these tips in mind:
- Cold is Key: Keep your pie dough as cold as possible. If it gets too soft while you are working, pop it in the fridge for 10 minutes.
- The Stem Debate: While many foragers leave the stems on for “rustic” charm, removing them provides a much smoother eating experience.
- Don’t Underbake: Ensure the filling is truly bubbling. If the crust browns too quickly, cover the edges with foil. The bubbling is the signal that the cornstarch has reached the temperature needed to thicken the Mulberry juices.
- Sugar Levels: Taste your berries! If they are exceptionally sweet, reduce the sugar to 3/4 cup.
10 FAQ
1. Can I use frozen berries for this Easy Mulberry Pie?
Yes! Just make sure to add a little extra cornstarch and don’t thaw them beforehand to prevent the crust from getting soggy.
2. How do I stop the bottom crust from being soggy?
Baking the pie on the lowest rack of the oven for the first 15 minutes helps crisp up the bottom.
3. How long does Mulberry pie last?
It will stay fresh at room temperature for 2 days, or in the refrigerator for up to 5 days.
4. Can I freeze this pie?
Yes, you can freeze the unbaked pie or the baked pie. If baked, wrap tightly in plastic wrap and foil for up to 3 months.
5. What if I can’t find mulberries?
You can substitute blackberries or loganberries, as they have a similar structure and moisture content. You can also Search for similar recipes on AllRecipes for more fruit ideas.
6. Are mulberry stems poisonous?
No, they are perfectly edible but can be slightly “woody” or fibrous in texture.
7. Is a lattice crust better for Easy Mulberry Pie?
A lattice crust allows more steam to escape, which helps the Mulberry filling thicken effectively.
8. Can I use flour instead of cornstarch?
You can, but you will need to double the amount. Cornstarch provides a clearer, glossier filling.
9. My filling is too runny, what happened?
The pie likely didn’t cool long enough, or the cornstarch didn’t reach a full boil during baking.
10. Can I make this as a crumble instead?
Absolutely! Simply omit the top crust and replace it with a mixture of oats, butter, flour, and brown sugar.
Conclusion
The Easy Mulberry Pie is a testament to the joys of seasonal baking. It celebrates a fruit that is often forgotten but offers a flavor that is deeply nostalgic and satisfying. By following these steps and ensuring your Mulberry filling is properly thickened and cooled, you will create a dessert that is both rustic and refined. Happy baking!
PrintEasy Mulberry Pie: 7 Steps to the Perfect Homemade Dessert
- Total Time: 3 hours 20 minutes
- Yield: 8 1x
Description
A delicious, simple, and rustic berry pie featuring fresh mulberries and a golden crust.
Ingredients
- 4 cups mulberries
- 3/4 cup sugar
- 1/3 cup cornstarch
- 1 tbsp lemon juice
- 1/2 tsp cinnamon
- 2 tbsp butter
- 2 pie crusts
- 1 egg
Instructions
- Prep crust
- Mix filling
- Fill crust
- Top and vent
- Bake at 400F then 375F
- Cool completely
Notes
Uses fresh seasonal fruit, simple pantry ingredients, and provides a classic dessert for family gatherings.
- Prep Time: 20 minutes
- Cook Time: 60 minutes
Nutrition
- Calories: 350 kcal